
Happy Accidents Photography Workshop… Lesson 5: Intro to editing
Editing for Phone Photography
As Phone photography grows in popularity and quality, so does the editing capabilities for it! There are numerous apps and options for editing your photos taken with your phone now which makes it simple and fun to edit on the go, right after taking your shots…something that is more difficult to do with your camera and computer! Whether cropping, adding filters or using mobile versions of editing software the options are endless. So what is the best way to edit your mobile photography?
Filters… Filters are easily available in mobile editing apps, social media apps, and right in your devices “photo app”. With the swipe of a finger or press of a “button” you can easily make your image black and white, or give it a dramatic feeling or tone. As with any editing be careful not to overdo it. One of my personal editing rules is that even with the most heavily edited images, they should look like something you could see in real life. Maybe a more vibrant or even a more muted version, but somewhere within a realistic color range. People should be people colored. Grass should be grass colored. There is a popular trend in photography lately where the grass is heavily desaturated and often a very weird sage green color that you would never see anything close to in nature. I get it…grass can often photography a very bright and overwhelming neon green. I often use techniques, presets and actions in my editing to mute this as well and give a softer, more dreamy feeling to the image, but it’s important to keep things close to a realistic I think. Filters (like actions and presets in editing with software) can often add a color cast to the entire image making people and objects strange colors. It’s important to ask yourself if they are really enhancing your image or not.

Cropping…Cropping is one of the easiest ways to edit a photo from your mobile device to add interest or get rid of unwanted objects/backgrounds. One of the biggest conveniences of using our mobile devices for photography is always having them on hand and being able to quickly capture a moment on short notice. This often means not having time to consider the composition of the shot ahead of time though (refer to lesson 1 for tips on composition). Cropping can take a quick snapshot with less than ideal composition and make it much more pleasing to the eye. Also for the most part, your mobile camera is not made for high quality zooming when shooting photographs. Yes, you can zoom in on a subject prior to taking the photos, but the quality is greatly compromised. Cropping to highlight your image AFTER taking the photo will result in a much clearer and better image while also allowing you more room to play with the composition.
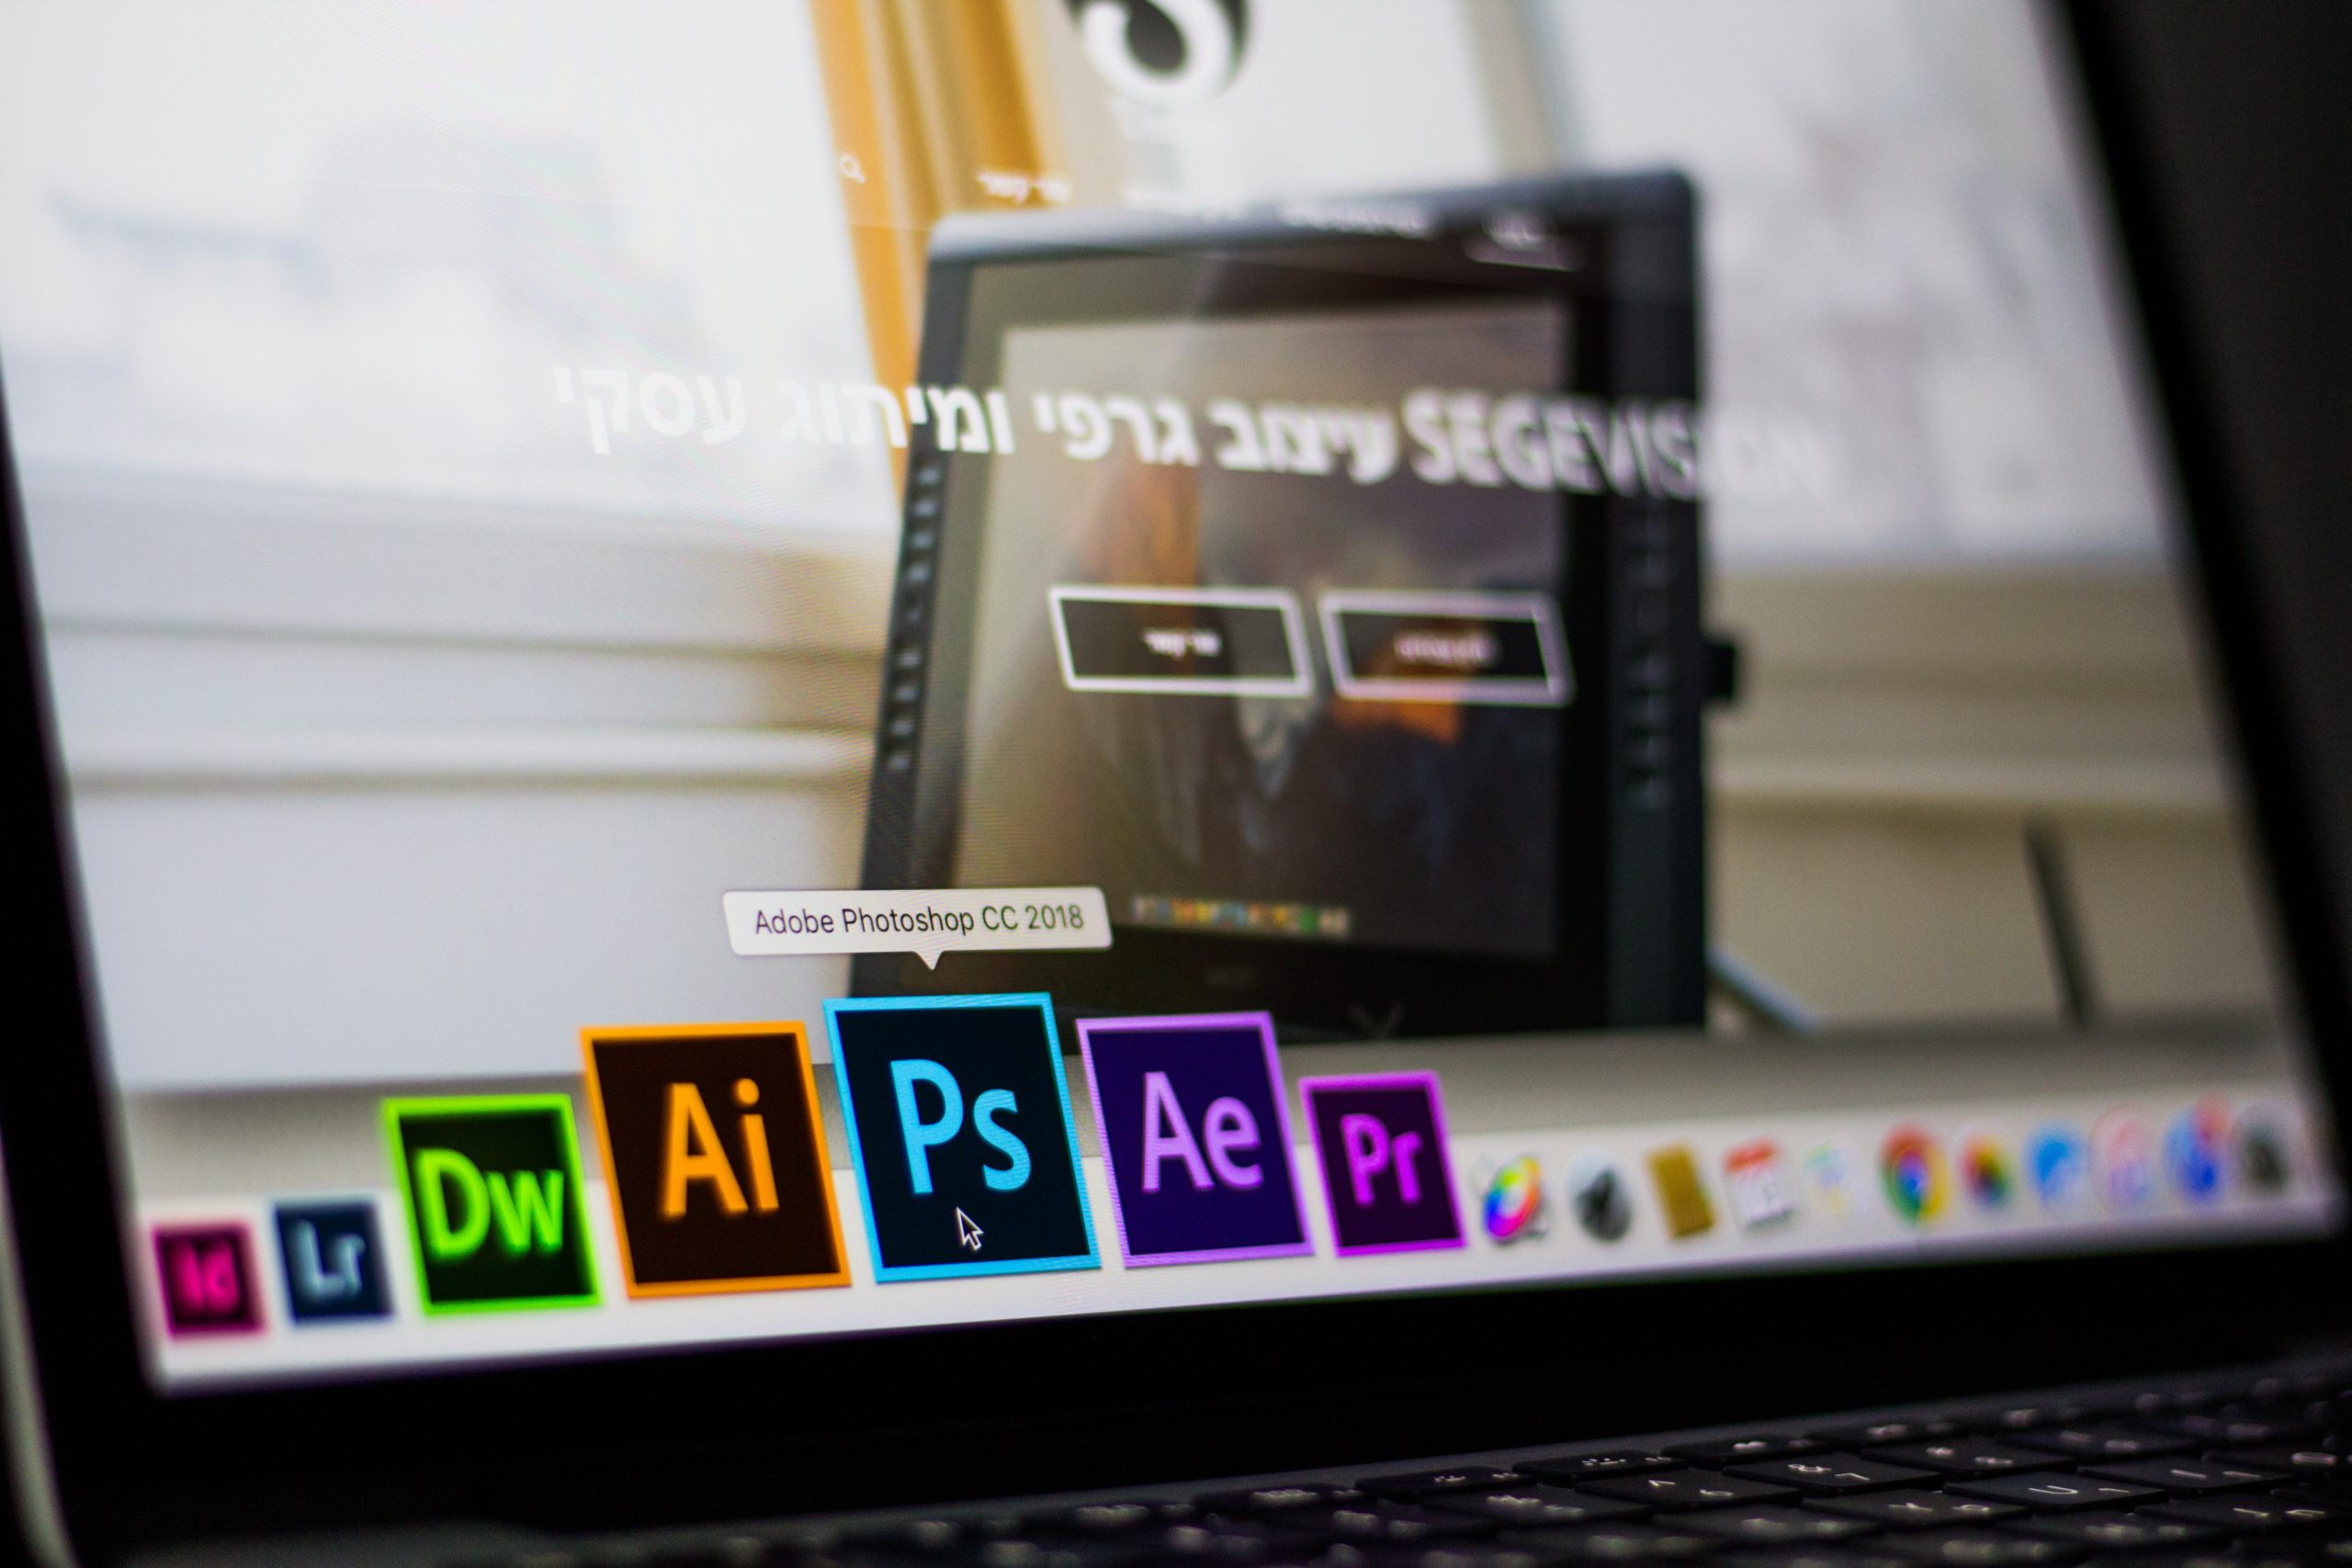
Apps… There are a lot of options when it comes to editing apps for your mobile photography. A quick google or app store search will give you a wide variety of choices. Some provide the ability to add special effects, filters and airbrushing and can be fun to play with. Most have a limited free version to try and then offer more options with the paid version. When it comes to editing my mobile images though, the only app I really need is Lightroom Mobile. If you plan on doing any editing of images from your camera as well, I highly recommend you purchase Adobe Creative Cloud which will give you Lightroom and Photoshop for your desktop, plus the mobile versions. The lightroom app not only allows you to make most of the same adjustments as desktop editing, but you can also install your favorite purchased or free presets and it even has an in-app camera that you can use instead of your phone’s built in camera app which makes it easy to do things like lock in exposure, adjust ISO, shutter speed and try filters, etc. BEFORE even snapping the photo!

Editing images from your camera
The first thing you should learn before you start playing with editing is the difference between shooting in JPEG and RAW formats. If you don’t know which one you are currently shooting in..you are shooting JPEG. So what’s the difference? JPEG is the standard “out of the box” setting for your camera. JPEG allows your camera to do all of the processing for you making “editing” unnecessary. When you shoot in JPEG your camera will adjust white balance, sharpening, color saturation, and other processing. Of course you can still take these images into programs like Photoshop and add more editing on top of these adjustments (like converting to black and white, etc.) but all editing you do will be added to the processing the camera already decided to do for you. I have no idea how this analogy came to mind, but I think of it like ordering a hot dog. If you order a JPEG hot dog, you are going to get ketchup and mustard on it whether you ask for it or not. You can go ahead and add relish, onions, chili…whatever you like on top, but the ketchup and mustard will still already be there. A RAW hot dog (and I don’t mean uncooked, LOL) will be a clean, bare hot dog. You can then add whatever you like to it to make it your very own. There are pros and cons to both formats, so how do you choose?
JPEG vs. RAW
JPEG is the best place to start…and in many cases to stay if you are just learning photography or are a hobbyist and just want to take great photos without HAVING to edit them all. JPEG files are compressed which makes them smaller and means you can fit many more images on your memory card without the expense of buying huge cards. JPEG will also deliver good images right out of the camera allowing you to focus on and improve your photography skills without having to learn editing at the same time, which can be very overwhelming. JPEG images are also ready to share right away. You simply upload them to your computer and can post them wherever you like. RAW images must be processed and converted to JPEG or another uploadable format prior to sharing.
There are a few downsides to JPEG. One of the biggest is loss of quality. Your camera compresses your image in JPEG which in turn causes loss of detail, dynamic range (or the contrast between the lightest and darkest parts of your image), and less vibrant colors due to JPEG not capturing all of the color range your camera is able to capture in RAW. Another big drawback for serious photographers is limited personal creative style since you are starting with a processed image already instead of editing the image to your own particular taste or style. Another downside that can affect any photographer but maybe especially those who are still perfecting their skills, is that you can’t correct images as easily in post processing and some things cannot be corrected at all.
RAW advantages and disadvantages are fairly obvious as they are just the opposite of the disadvantages of shooting JPEG. The quality of your images will be much greater as your camera will capture absolutely ALL of the details that it receives from the sensor. This includes greatly increased color, dynamic range, brightness, and editing possibilities and creative freedom. On the downside the file sizes required to hold all of this extra information is very large meaning they will take up a lot of room on your memory cards, computers and external hard drives. RAW image also HAVE to be post processed which requires time, learning, and special software.

Editing
So the first step in editing a RAW file is to open it up in either Lightroom or Photoshop. If you are using Photoshop, your raw file will automatically open in “Camera Raw”. In Lightroom you can upload it straight into the library for developing. Once the image is open in the software of your choice you will be able to adjust things like contrast, exposure, colors, saturation and a whole world of other adjustments. In Lightroom you will find some built in “presets” you can play with as well. Presets are like a “recipe” for your images. They are a combination of settings that are saved and can be applied to each image by simply clicking on the desired preset. You can then adjust the individual sliders to change the intensity of each adjustment for your image or use the adjustments provided in the preset as-is.
Actions are popular in Photoshop and are similar. Since Photoshop uses different “layers” to edit your image though you are able to essentially turn off or on different parts of the action to your liking, or even paint the action off of specific parts of your image. For instance some actions make backgrounds look great on backgrounds but can cause a strange color an people. You can use a paintbrush and paint the action off of the person, leaving it in tact on the background.
You can create your own actions and presets which is very handy for photographers that frequently make the same adjustments to every photo, or you can purchase them or sometimes find free downloads from other photographers. Keep in mind that the result of your presets or actions will depend on the light and colors in the image you start with and not look the same or even be a good fit for every image.
Homework
- Using your phone, try editing some images (new or already in your camera roll). You can use the options in your camera to crop or play with filters or download an editing app.
- If you have editing software already, but have been shooting in JPEG, refer to your camera’s manual and switch your format to RAW. Upload your images into your editing software and practice adjusting things like exposure, contrast, etc. to get a feel for it.
- Join the Facebook Group and share some images, ask questions, and more!
Leave A Comment