
Fun and “Fun”ctional Retro Metal Cart Make-over… Awesome Craft Cart!
This year after Christmas I jumped on the bandwagon, along with everyone else, and purchased a new Cricut machine. What creator is really complete without one of these amazing machines? I jumped into creating right away but quickly realized I needed a storage solution for when I wasn’t using it, but wanted it to be mobile so that I could access it quickly if the urge struck to make something with it. Since it needs to be hooked up to my computer I wanted a cart on wheels. One of the local craft stores carried a cart that was designed just for this and it appeared to be perfect and was on sale! However the reviews were awful and mentioned things like missing parts and wheels falling off and even with the sale price and coupon code it wasn’t worth taking a chance to me. Besides, although I was really looking for function here, a little character and personality would be nice too since this piece would be out on display in my home office. Then I remembered I had been seeing these little vintage metal carts on swap pages and all over the internet. I found one for sale and then spent the next few days harrassing the poor seller and eventually brought this little beauty home.

It was in really great shape but had a few imperfections and I also wanted to make it match my home office so I got some Rustoleum paint and went to work. The off-white paint I got was also a primer but the gold I chose for the accents was not so I primed the whole cart first.


After the primer was dry I decided to tape off the accents (legs and handle) before painting the shelves off-white. Since I was going to be painting them gold anyway it wouldn’t have really mattered if a little of the paint got on them, but I wanted an even finish and thought it was best if I protected them so I taped them off. I should probably also mention that it was snowing on top of icy roads outside and I was in the garage with a little space heater for this whole process, but when I decide I want to do something there isn’t much that can stop me. Unfortunately this meant my car was in the driveway for most of the day.


After painting the shelves and letting them dry I covered them so that I could start on the hardware. You know those giant rolls of Christmas wrapping paper that you think will be a great idea to buy but then they seem to last forever and years later you just want them to go away? I found the perfect use for them!

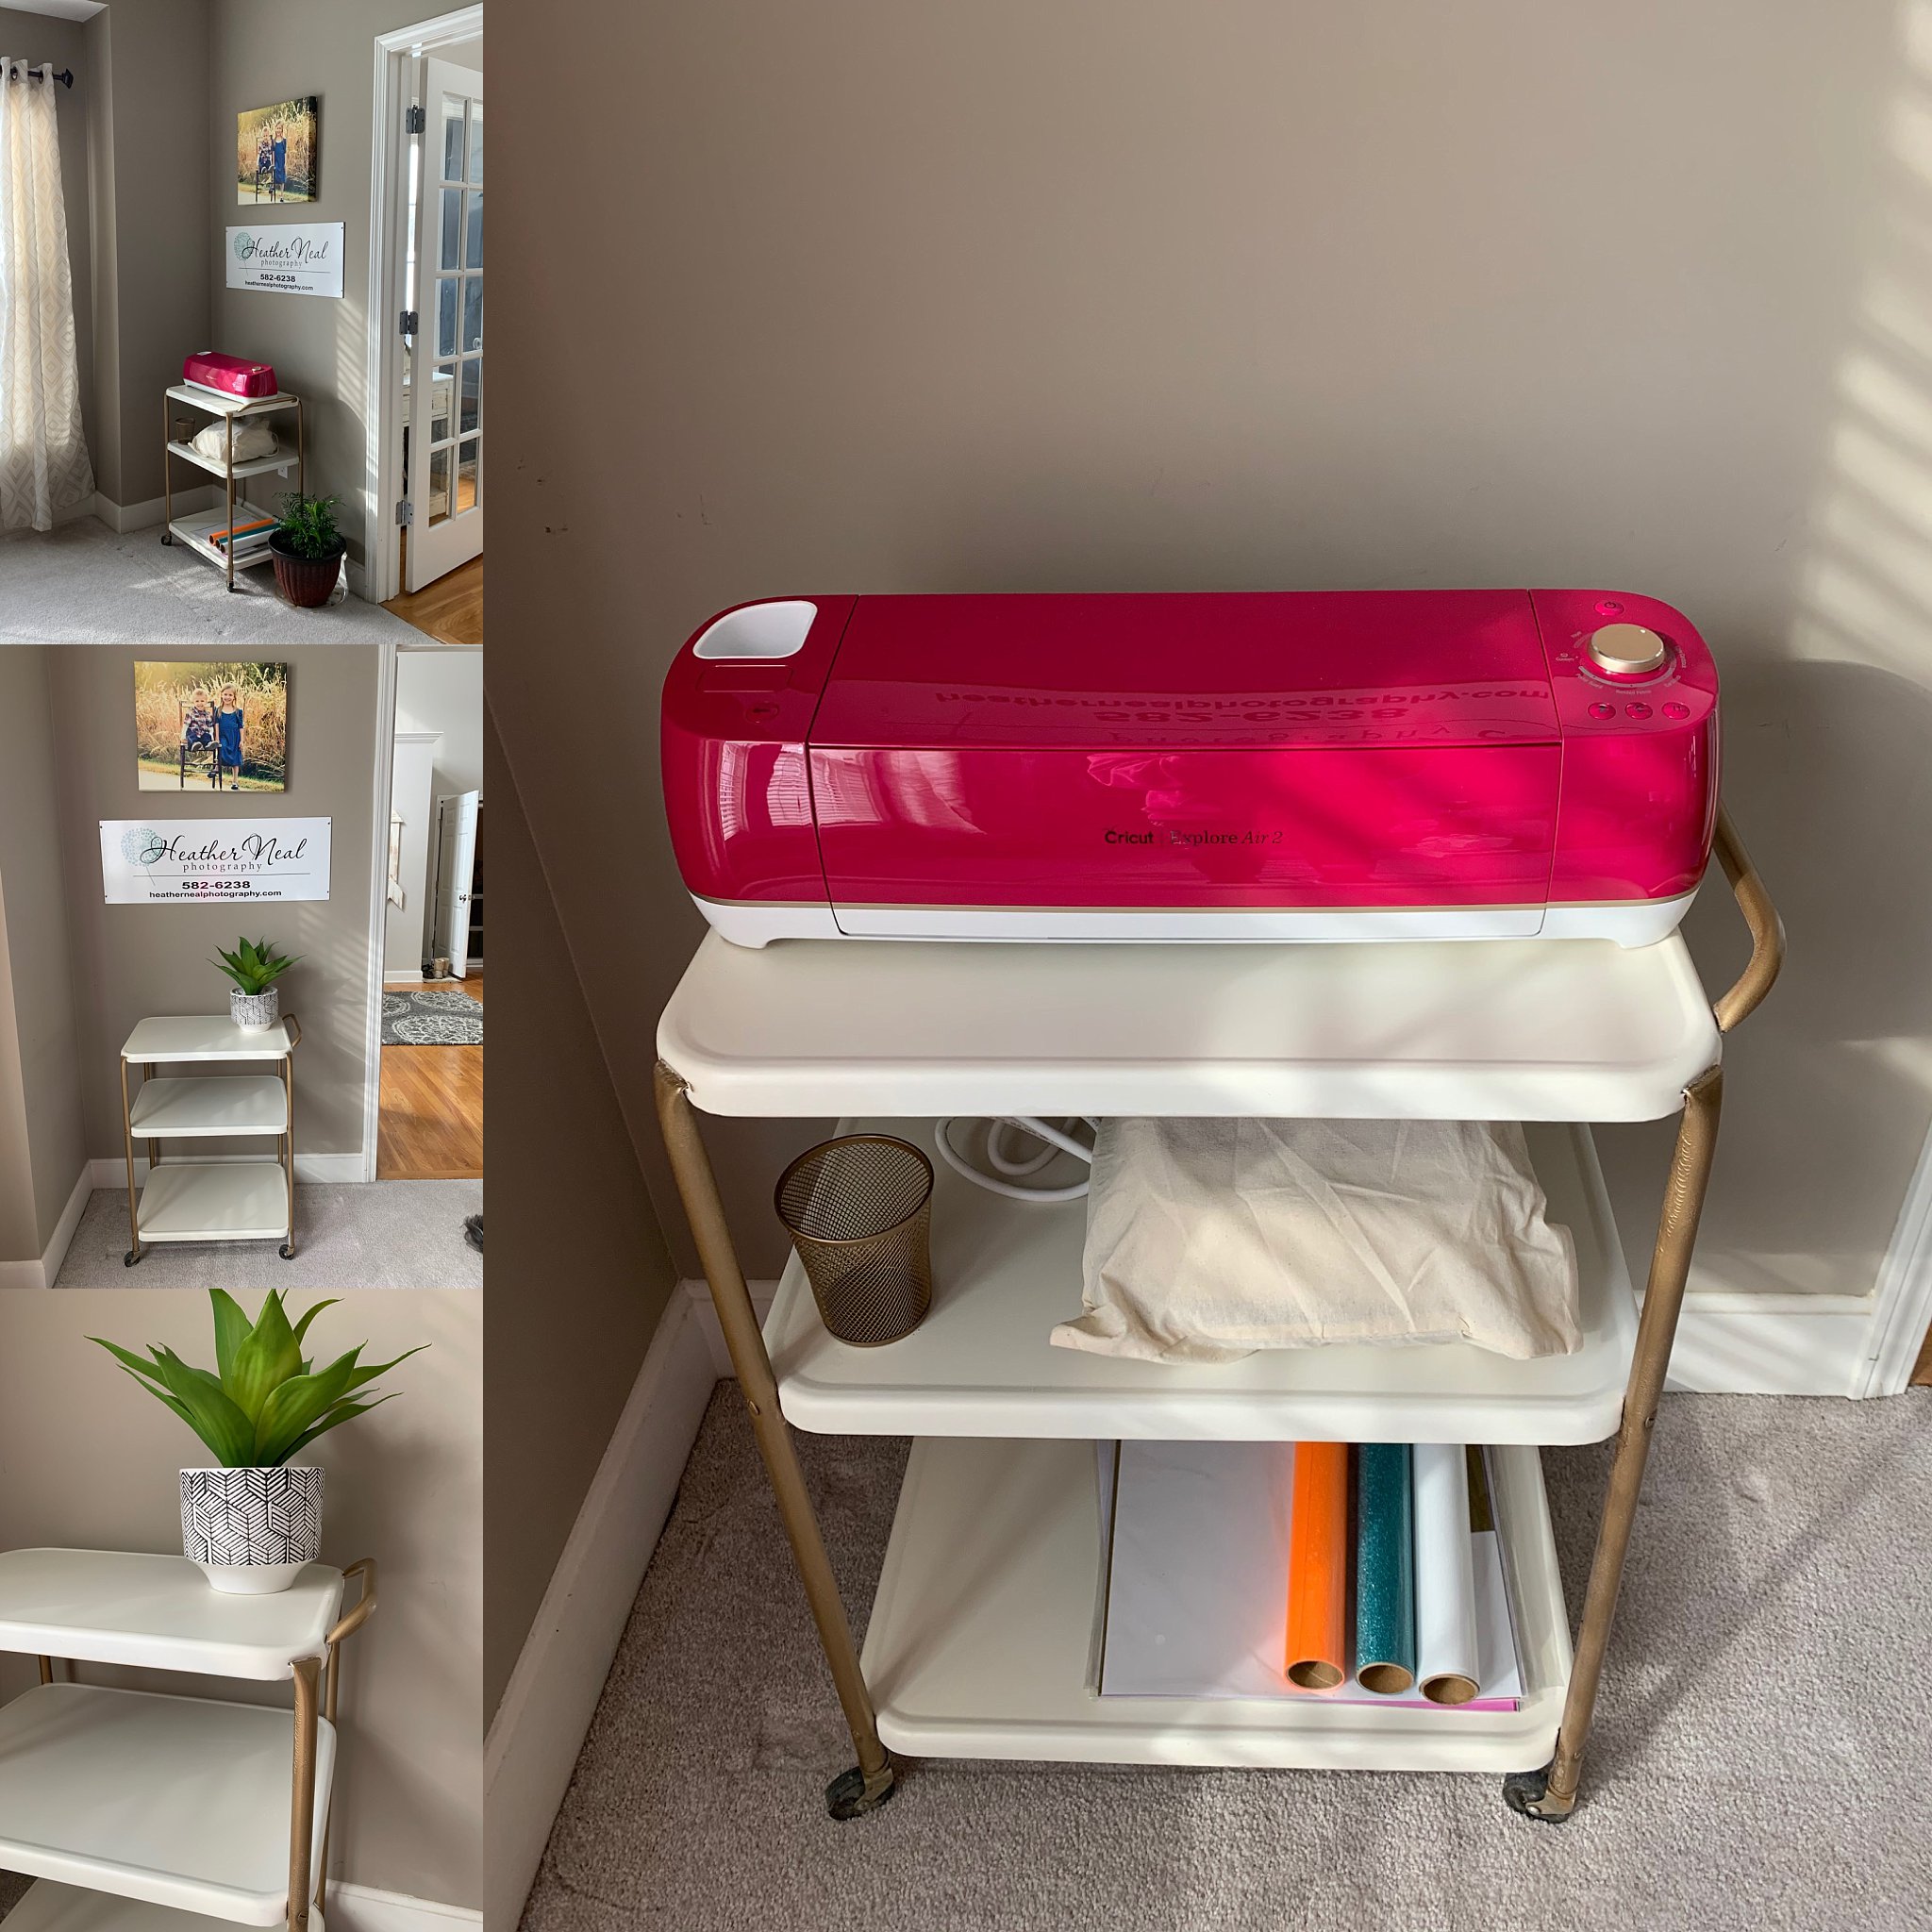
This was not only the perfect way to protect my shelves, but after the gold paint dried I got to unwrap this little present to myself and see what I created which kind of felt like Christmas anyway! I was so thrilled with the finished result! It was the perfect look and solution to my storage needs for my Cricut and supplies. One note: I believe because the garage was a little cold the gold paint wrinkled up a bit in a few places. I have used spray paint on several projects and have the technique down pretty well to normally avoid this (spray in back and forth motion and not too close) and it looked great when I initially sprayed it on but after drying had a few of these spots). Not a big deal and I may eventually go back and sand them and touch them up, but if you decided to do a project like this maybe pick a warmer place or time. 😉 Anyway, I couldn’t wait to get my cricut out and get it all set up. Our dog Buster was excited too because the protective cover I had the Cricut in made a perfect “pooch pouch” apparently.


About The Author
Heather Neal
Related Posts

All about “Eve”… Beautiful Furniture Makeover
Eve was my first BIG furniture make-over (hence the name “Eve”……
February 15, 2021
Furniture Makeover…Getting my happy back!
Life is crazy when you have two busy kiddos. The older they get, the busier…
June 16, 2018
Leave A Comment